Technically, this is a hack that I should’ve included when I did the series of posts about the composting toilet. That 5-part series is listed at the bottom of the post. The reason is that you should not consider converting the sewer hose to a garden hose if you have a black tank. The bulk of a black tank (even if you don’t throw toilet paper into it) risks not fitting through a garden hose. And that would be one nasty mess to unclog and clean.
Now some black tanks come with a macerator that chops all the solids into small pieces. But, I have to say, even with one of those, I suspect a garden hose as a sewer hose wouldn’t be a wise idea.
In other words, this is probably only a good option for those with composting toilets, cassette toilets or other set up where you are only draining a gray tank.
This was a hack I heard about from Paula, another Oliver owner, at the 2019 Oliver Travel Trailer owners’ rally. So, here’s a shout-out to her because I never heard of such a thing. And, even after nearly three years on the road, I’ve also never seen someone else have this sewer set up.
Why I Decided Converting the Sewer Hose Was a Good Idea
I may not have decided that converting the sewer hose was a good idea just because. However, one day during my stay in Deming, New Mexico, I emptied the gray tank and discovered water coming out of the hose. Luckily it was only gray water.
At first I thought it was a loose connection and the water dripping off the hose was just because that was the lowest point. But, upon further investigation, I found two cracks (each a couple inches long) in the plastic of the slinky sewer hose. Probably a combination of the push-and-pull of the slinky action based on me extending it to connect to the sewer drain and smooshing it to get it stored away in my bumper after unhooking. Plus, temperature changes from one stop to the next.
I did the ol’ duct tape fix. And then contemplated buying a replacement section of hose. That’s when I remembered this hack and decided converting the sewer hose was the best solution. I mean, replacing the sewer hose, likely, meant more cracks a couple years down the road.
I dug around in the old gray matter to remember what I’d learned at the Oliver rally. And then, six months later–finally–I ended up converting the sewer hose to a garden hose. Below are the step-by-step, easy instructions.
One note: I’d recommend doing this conversion while you have a little gray water in the gray tank so that you can test everything when you are done.
Hack: Converting the Sewer Hose

Supplies You ‘ll Need:
- Garden Water Hose
- Gray Tank Drain Adapter
- Waste Valve Cap
- Sewer Seal (I got one with a flexible fitting)
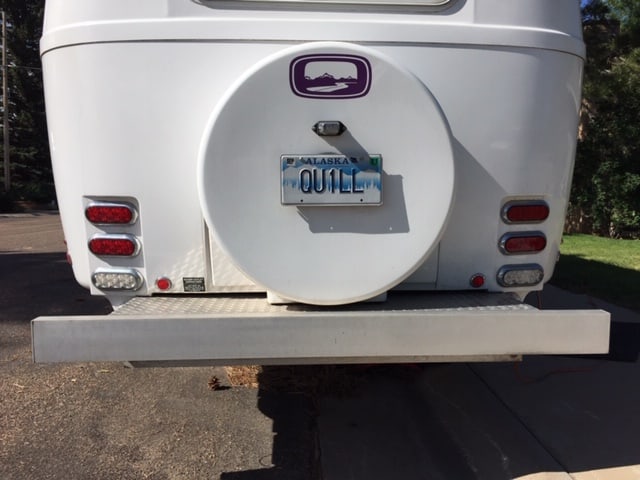
STEP 1: Locate your sewer hose connection.
In the case of the Oliver, the sewer hose connection is in the back bumper. The process should be the same no matter what type of RV you have or where your sewer connection is.

Step 2: Be sure your gray tank is closed. You don’t want to start working and have icky dirty gray water splash on you.

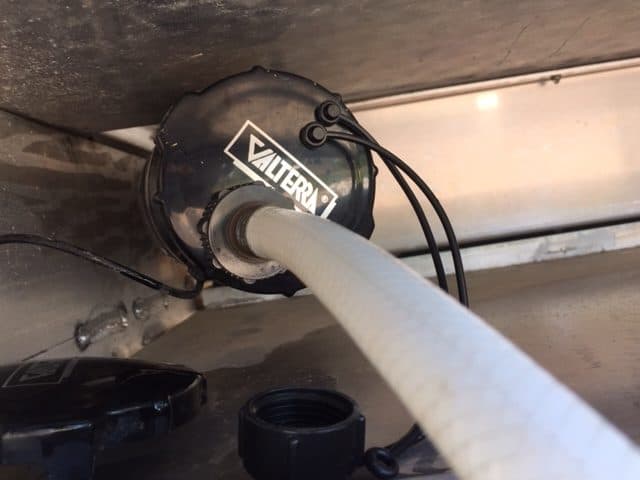
Step 3: Follow your sewer hose up to the connection and unhook it. A little water might come out but that’s okay. It’s just water that was sitting in the hose.
In this photo, can you make out my blue duct tape? It was my patch job when the hose cracked.
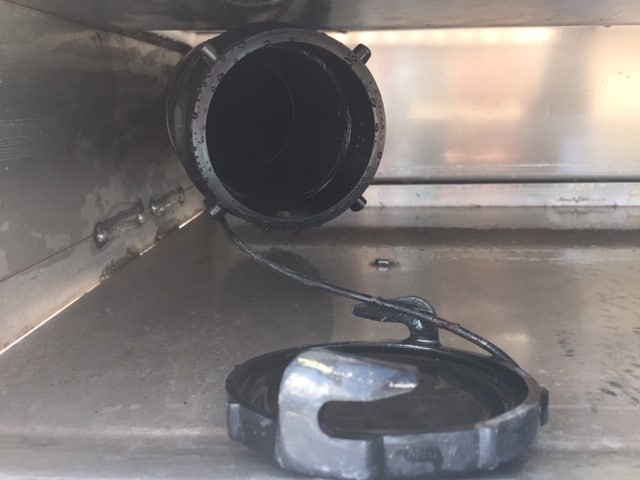
Step 4: Wipe away any grime or gunk where the new sewer hose will attach to the RV’s sewer outlet. Notice the four small round things on the outside of the connection? That’s where the new sewer hose piece will hook and twist on.

Step 5: Tightly attach the drain adapter and valve cap to the applicable ends of your garden hose. Each one only fits on one end so you can’t mix these up.
Step 6: Attach the waste valve cap to the sewer line connection of your RV.
One note here. The valve cap attaches with those little hooks (which you can see well in the photo below) to the sewer line that has little round pieces that stick out (which you can see in the photo above this one). The hooks grab on to the pieces that stick out and then you twist it to secure it tight. It’s worth taking the time before you purchase your supplies to make sure the valve cap you want lines up correctly with the sewer line.
In my case, my sewer line has four pieces that stick out though my valve cap only had two hooks. But, because everything was equidistant from each other, the two hooks lined up with two of the sticking out pieces.
The guy at Camping World (and, admittedly, he didn’t seem to know too much) said that some valve caps or sewer lines might have three. So while two and four are compatible with each other, three and four would not be. Does that make sense?

Step 7: Attach the sewer seal to the gray tank drain adapter on the other end of the hose.
Step 8: Open the gray tank to make sure all fittings are tight and there are no leaks or misalignment. Obviously, it is best if you are hooked up to a sewer drain. I was boondocking so did mine in the street. However, I only let a little bit out. Remember, without a black tank, the water is not sewage and, therefore, not a bio-hazard. That said, gray water can be pretty stinky because of all that standing water with used soap, shampoo, dirty dish grim, etc.
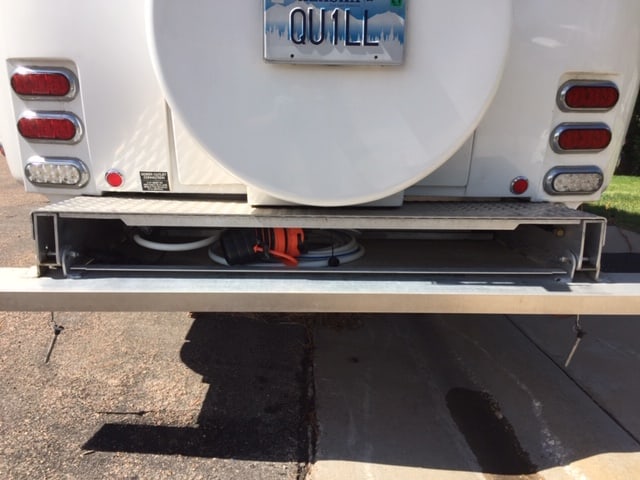
Step 9: Tuck away the garden hose that will now serve as the sewer hose. Bonus: the garden hose takes up a lot less room so I created space in the bumper for something else. Maybe my drinking water hose?
I will admit that I kept the good section of the slink sewer hose. Just in case. If converting the sewer hose to a garden hose turns out to be easy and a good solution, then I’ll toss or give-away my slinky sewer hose sections. But to be cautious, I’m keeping it for now.
Bonus Hack
Since I was looking at and thinking about the bumper, I decided to polish it as part of converting the sewer hose to a garden hose.
Before I got on the road, I purchased a couple thousand dollars worth of supplies based on recommendations I picked up on other blogs, the Oliver forum, etc. It is not something I recommend. I ended up with stuff I never used and stuff that wasn’t right for me or my trailer.
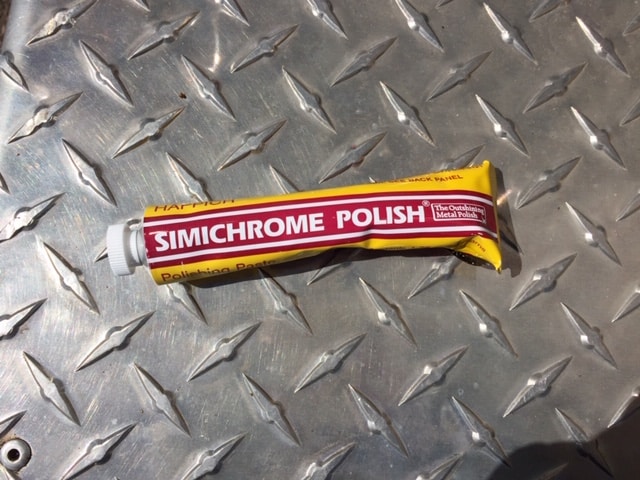
But, that said, this tube of chrome polish is something I’ve been carrying around since before I was in the RV. It was nice to get the chance to use it for the first time. Of course, that’s more about me not polishing my bumper than about the product. The Simichrome Polish was a recommendation from another Oliver owner. I’m sure there are a fair number of good products out there for any polishing needs you have.
Wash area clean. Use a clean rag to spread the pink polishing paste over the chrome area. Wipe off. Then buff with a clean cloth. It’s a pretty easy task.

Finished. Nice and shiny. Hmm…maybe I won’t wait another two and a half years before the next polish.
Other Composting Toilet Posts:
- Composting Toilet: What is It and How Does It Work?
- Preparing and Emptying the Compost Toilet
- Composting Toilet: Maintenance and FAQs
- Preventing Bugs in the Composting Toilet
- Getting and Ridding a Bug Infestation in the Composting Toilet
To see products recently purchased by readers or to browse and shop at Amazon, follow either of these links. Huge thanks for your support.
- Camco RV Brass Inline Water Pressure Regulator
- Google Pixel 4a – Unlocked Android Smartphone
- Dexnor for Google Pixel 4a Case [NOT for 5G] with Screen Protector
- MineDecor Plastic Storage Containers Square Food Storage Organizer
- DEERC DE52 Remote Control Helicopter
Affiliate Link Disclosure. As a result of being an Amazon Affiliate, I earn from qualifying purchases.


Hi Debbie – Interesting post. How much longer does it take to empty your grey water tank?
I bet you will get some comments from other RVERS when you uncurl a garden hose at the dumpsite. ???? Who cares what they think, right.
Happy trails,
Denise Wellington
Good point, Denise. You know what? I didn’t even think about the dumping time. I actually haven’t tested it in any real way as yet. Fortunately for me I mostly stay at campgrounds so I can connect to the sewer and open the tank to drain while I do other things. Sometimes I just keep the gray tank open all the time but I know some people don’t recommend that for fear of sewer flies getting into the tanks.
Thank you so much for this idea. Although I don’t take delivery on my Ollie Elite I until October (with a Nature’s Head composting toilet), I have already purchased the materials to make this modification. I love your weekly posts. Your blog is a blessing to those of us that are just beginning. Keep them coming!
I hope to see you on the road someday!
Carl
Thank you for the compliment. You made my day, Carl! You know I made the conversation last summer and then ended up storing my rig for the winter. In other words, I haven’t had the opportunity to use the new system much but I’m looking forward to getting back to road and trying it out. I love how much extra space it made in my bumper. That was a big bonus in a rig where storage is a continuous issue. I’ll look forward to meeting you on the road.
SUGGESTION. If you do decide to keep your drinking water hose in the bumper with this, keep the ends both ends of the drinking water hose connected. That way you don’t take any chance of gray water contaminating it.
Oh my gosh, that’s such a great idea. I never thought of that. Thanks, Will! It’s a perfect solution.